How To Create Mix and Match Bundles on Shopify Store

Jure Reljanovic
21 Jan 2025 - 10 Mins read
Mix and match bundles are a great way to increase the AOV (average order value) of your Shopify store. They will help you sell more products, clear inventory faster, and also improve your conversion rate, but only if done right.
In this article, we will be going over how to create Mix and Match bundles on your Shopify store and start earning extra money from your customers for almost no additional cost.
Without further ado, let's get started!
What are mix and match bundles?
There are different types of bundles that you can utilize on your Shopify store.
-
Volume bundles or multipacks - these are bundles where you give discounts if customers buy two or more of the same product
Example: Buy two shirts, get 10% off, buy 3 get 20% off.
Recommended Shopify App: Kaching Bundle Quantity Breaks -
Frequently bought together bundles (FBT bundles) - with FBT bundles, you usually show certain products under the main product that the customer is looking at and offer a discount if they purchase these additional products along with the main product.
Example: laptop with bag and mouse offered as frequently bought together items
Recommended Shopify App: Frequently Bought Together CBB -
Pre-built bundles (boxes) - these bundles are pre-configured and packaged as a single product for you to buy with a discount already applied.
Example: shampoo, lotion, and a deodorant packaged together as a Christmas gift.
Recommended Shopify App: no app required. You can just add a new product containing a description of which products come when someone buys it -
Mix and match bundles - mix and match bundles are very similar to pre-built bundles, but the key difference is that the products inside the bundle are not pre-selected by the merchant.
Example: pick any lotion, deodorant, and shampoo and get 15% off on your custom bundle.
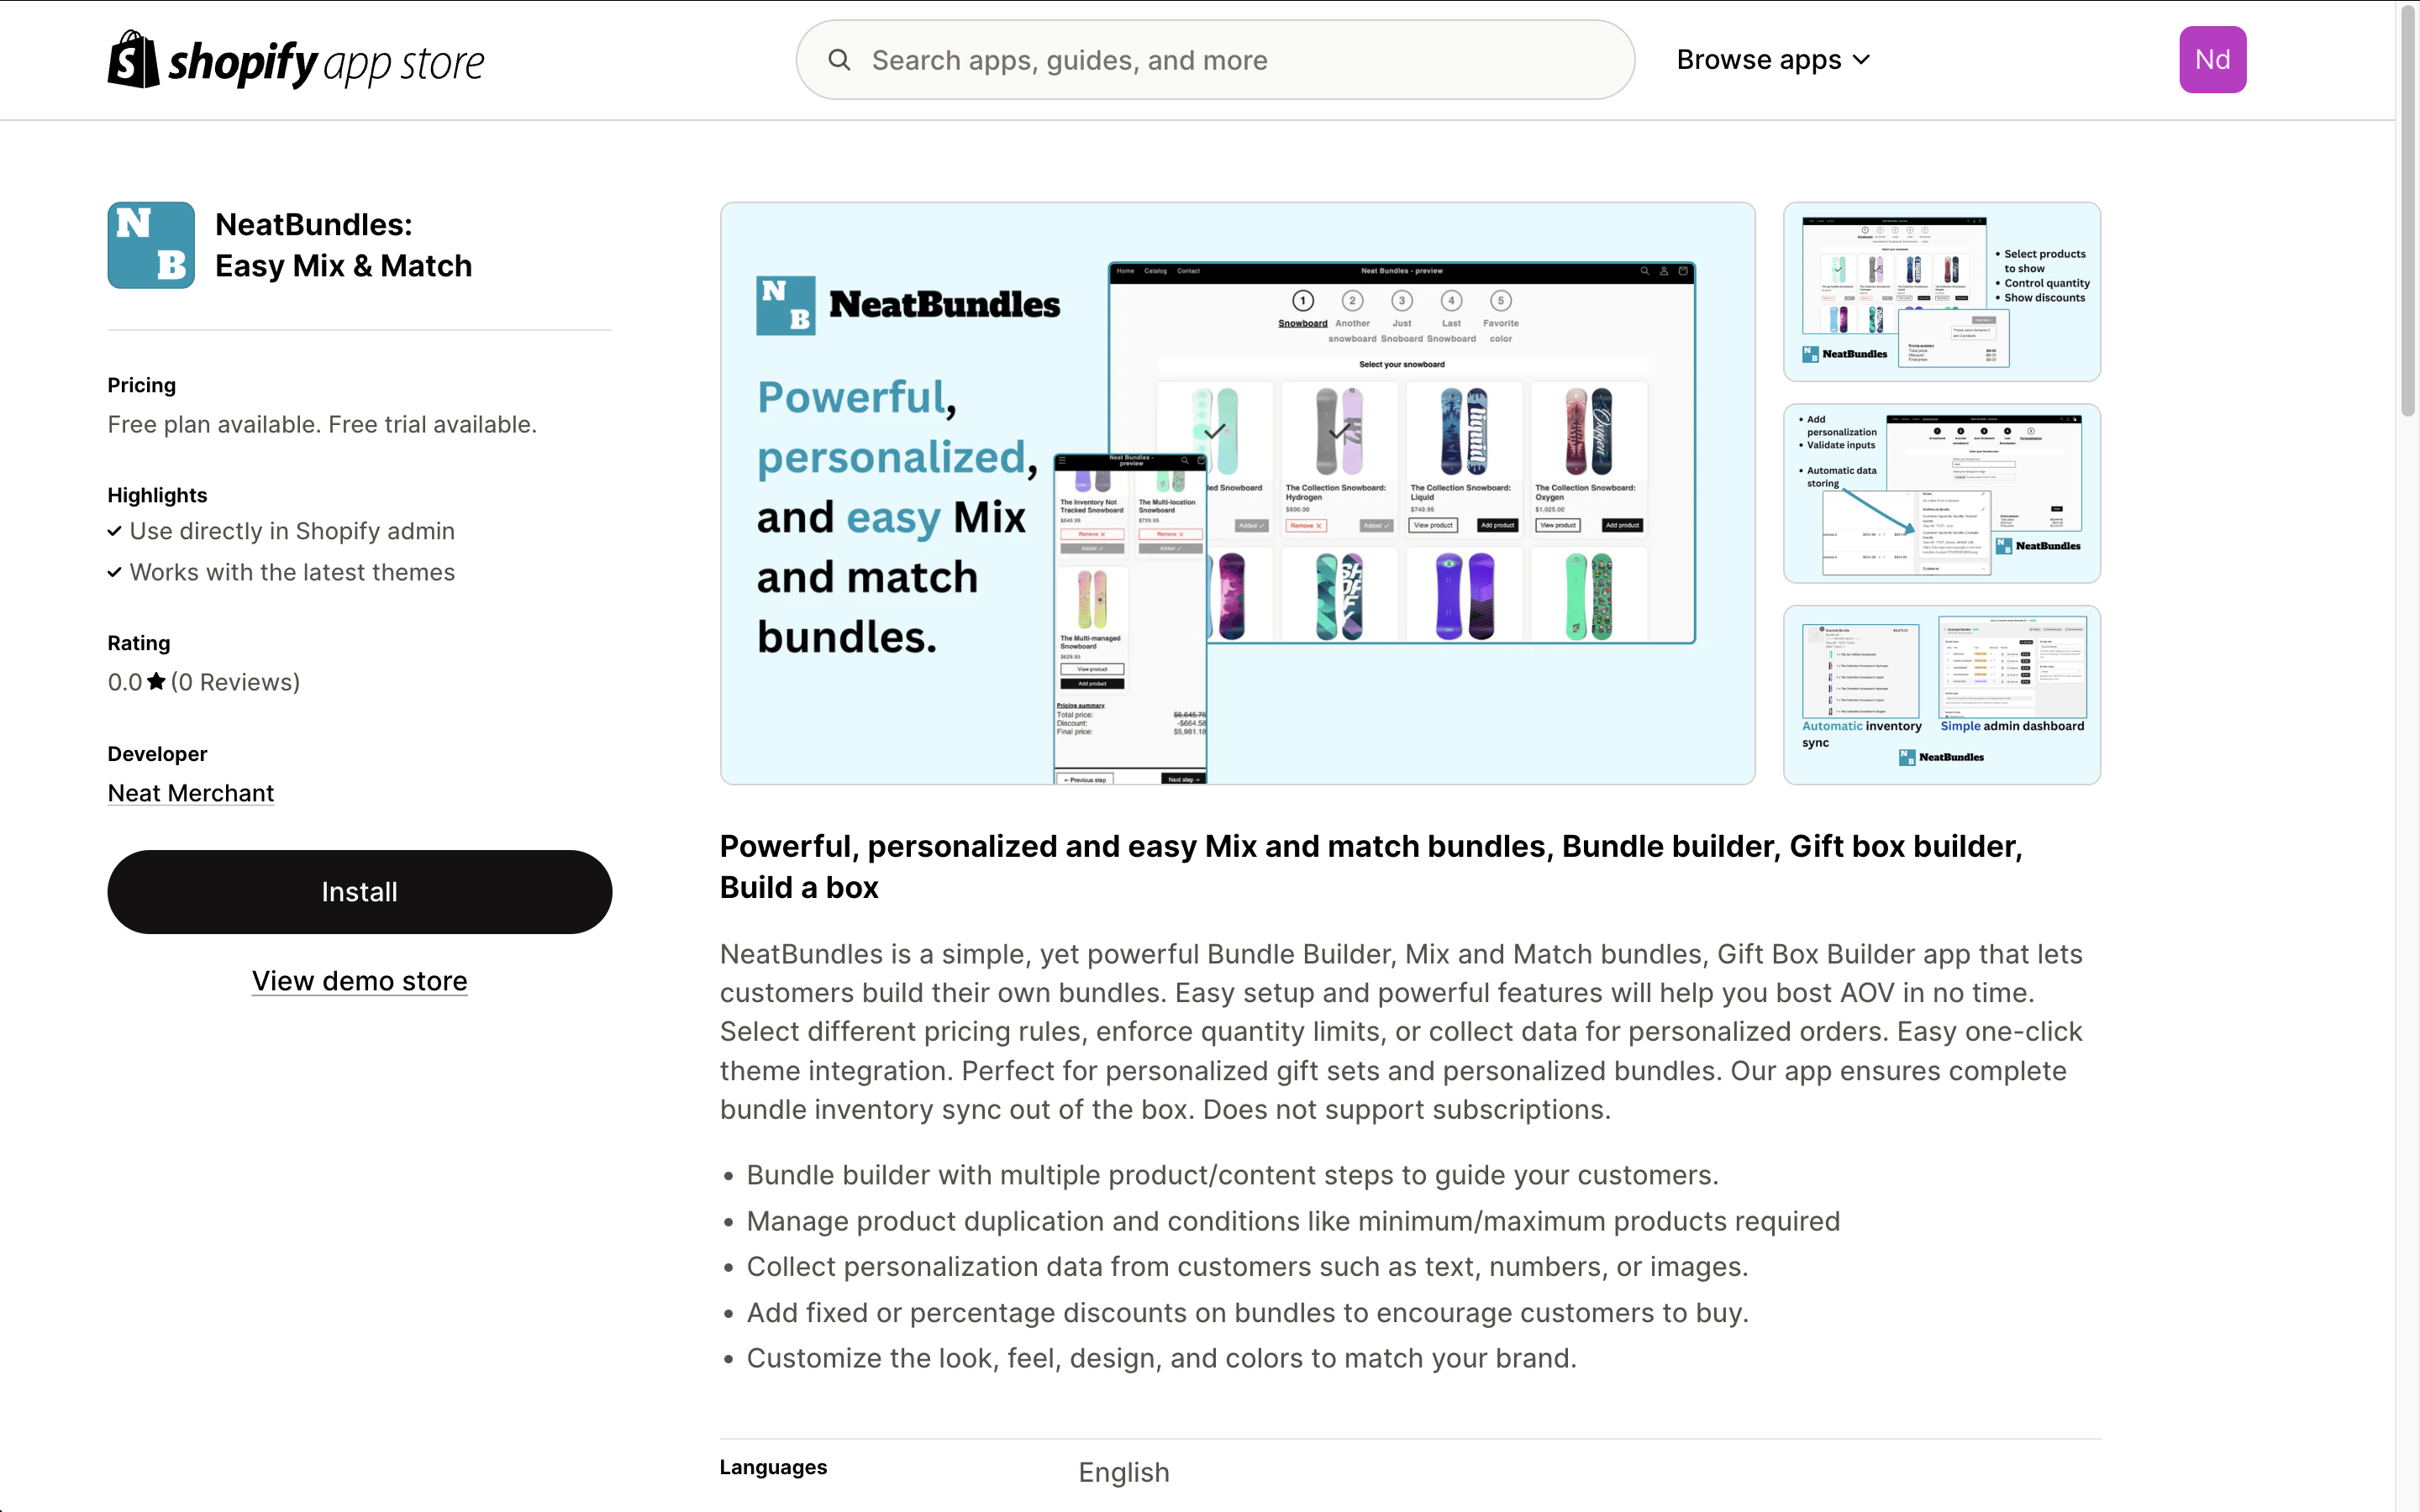
Recommended Shopify App: NeatBundles: Easy mix & match
There is also a free bundles app built by Shopify called Shopify bundles app which you can install for free. It's missing some features that paid apps have, but it can be a good start.
As you can see, all of these bundle types are different, and all of them have their purpose. In this tutorial, we will be strictly focusing on mix and match bundles and how to add them to your store.
Who should and who shouldn't use mix and match bundles?
Mix and match bundles can be a great tool to increase your AOV and offer a unique shopping experience to your customers. They will feel like they are in control and that they have the ability to choose whichever products they like, instead of you making the choice for them.
Although that's all great, they may not be suited for every type of Shopify store out there. Some products are just hard to sell in bundles, especially mix and match bundles, and paying either for a developer or for an app simply doesn't make sense. On the other hand, there are brands whose products feel like they are made to be sold in bundles, and for them, it's a no-brainer.
Products that sell better with mix and match bundles
-
Clothing products
-
Skincare products
-
Beauty products
-
Pre-made meals
-
Food
-
Gift boxes
-
Gift baskets
If you sell any of these types of products, mix and match bundles are for you. They will definitely help you increase your AOV and allow your customers to make their own bundles which will help them build a better connection to your brand.
Products that sell worse mix and match bundles
-
Electronic products
-
Home appliances
-
Furniture
-
Any expensive products
-
Courses
It's not that these products can't be sold in mix and match bundles, but it usually doesn't make sense. Creating mix and match bundles on your store will cost you money, let's be honest about it. For it to make sense for you to pay extra either for the developer or for the app, you need to see the return higher than your money invested. With these kinds of products, that usually won't happen.
Most of these products are bought individually, and people rarely need multiple of them, which makes it very rare that they will be incited to buy multiple. Also, when people buy these products they aren't usually used to the headline "Build your own box (BYOB)" which is what most merchants use on their Shopify stores to incentivize customers to build their bundles.
How to create mix and match bundles for your Shopify store?
Now the good parts, let's start creating mix and match bundles on your Shopify stores.
There are two ways you can create mix and match bundles on your store. Either by hiring a developer to build it for your store or by installing the app from the Shopify App Store that supports mix and match bundles.
Hiring a developer may make sense if your Shopify store is very specific and you can't find an off-the-shelf solution that solves your needs, but for most cases, installing an existing app will be both quicker and easier. Thus, I will use an app in this tutorial.
Step 1 - Install the mix and match bundles app from Shopify App Store
We will start by installing the NeatBundles Shopify app. This app will allow us to create mix and match bundles on our Shopify store. It has all the basic settings that you will need like configuring the number of steps, configuring discounts, changing colors, etc. It also comes with a 30-day free trial which should be enough for you to start getting some bundle sales.
Just like with every other Shopify app, you need to click "Install", and then click "Authorize".
Select billing plan

After you've installed the app, you will be prompted to select a billing plan. All the plans are affordable, especially in this category and even the Basic plan, should be enough to get you started. If you are running a development store, like I am in this tutorial, you will be automatically assigned a free development plan.
Connecting the app to your active theme
After selecting the billing plan, you will be redirected to an installation page, where you'll need to enable the app on your active theme. NeatBundles app requires this to be able to show a mix and match bundles builder on your store.

On this page, you can just follow the 3 simple instructions on the right of "App activation" to activate the app.
First, you need to press "Activate app".!

A window like this will then open up, where you will need to click the black toggle button to enable the app. After that, you need to just click "Save" on the right side, and you can close this window.
Step 2 - Creating the first mix and match bundle
After completing the installation we will start by creating our first mix and match bundles.
How will your mix and match bundle look?
Now, before we start, you need to have a general idea of how you want your final bundle page to behave. A couple of questions you need to know to get started are:
How many steps will you have in my bundle? How many products will customers be able to select on certain steps? How big of a discount do you want to offer? Do you want to provide some additional benefits for customers who purchase a bundle, like gift cards?
You don't need to know all the answers to these questions immediately since you can always change how your bundle works, but it's good to have an idea before you start.
The mix and match bundle I will be adding to my store
On my store, I will create a bundle called "Snowboard for Him and Her". My idea is that if someone is thinking about buying a snowboard for himself and their significant other, they can freely choose which two snowboards they want and get a discount for that order.
The bundle will have two steps. On the first one, the customer will need to select the first snowboard (one for him), and on the second step, the customer will need to select the second snowboard (one for her).
Building mix and match bundle!

Let's start creating! This is the page you should have been redirected to after completing the installation. To create your first bundle click Create bundle.
Entering a title

The next step is to enter a title for your bundle. As you can see, mine is Snowboard for Him & Her.
Feel free to be creative with your title, but don't make it too long since it will show in the cart, checkout, and order details page.
Choosing the number of steps

Now you need to choose if your bundle is gonna either have one or multiple steps. I am gonna be choosing multiple. After you select what's appropriate for you, click next.
Configuring the first step

Now, we need to configure the first step. The title for my first step will be Snowboard for Him. I will allow customers to only choose 1 product on this step, by setting both minimum and maximum products to 1. In terms of the products that the customer can select, I chose 6 different snowboards that I think could appeal to men. After you configure all that for yourself, click next.
Configuring the second step

After you have clicked next on the first step, you will be prompted to choose the type of the second step. NeatBundles app allows for two types of steps: product step and content step.
The first step we've just configured a second ago was a product step. The final customer browsing your store will be able to select products on those steps.
The content step allows you to let your customers enter their content usually used for personalization. For example, I could have an additional step where I would ask a customer to enter the names of the two people these two snowboards are for and then send them a thank you letter with their order mentioning both of their names. Adding that type of personalization can be a great way to form a stronger connection with your customers because they will see that there is a person on the other end caring for them.
Just for the sake of simplicity, I will choose the second step to also be the product step and click next.!

Now, I will enter pretty much the same configuration for the second step. The only difference is that I selected different snowboards that I want to offer in this step (more appealing to women), and I also changed the title to Snowboard for Her.
Bundle discount

The next step is configuring the discount. You can make the discount either be fixed (e.g. 100$ no matter the total cost) or a percentage (e.g. 30% on the total price of all products that are in the bundle).
I will choose a percentage discount and make it a generous 20% since snowboards are a little more expensive and people will probably need a higher incentive to buy two of them.
Checking out our bundle
That was actually the last step we needed to go through. After that, this screen should appear notifying you that your bundle is done.

You can click the black button to see your bundle live on your store.
Testing mix and match bundle
You can now go through and make sure that your mix and match bundle is working properly.

This is the page that I see when I go to check out my bundle. I can select which snowboard I want on the first and second steps. There is also a limit not allowing me to select more than 1 snowboard on each step.

Since some products have multiple variants, a modal overlay is shown which allows me to exactly select which variant I want to add to my bundle. The total price before and after the discount is also shown in the bottom right part of the page.
Adding bundle to cart and checking out

If I go all the way through the bundle and click Finish on the last step, the bundle is added to the cart.

When I go to checkout, I can see the bundle together with all the individual items that are a part of it.
Changing the colors of your mix and match bundle
As you saw before, we have added mix and match bundles to our store. The next you will probably want to do is customize the colors for the bundle page to match your brand.
First, navigate to Global settings while in the NeatBundles app.

That will get you to here:

These are the global settings that apply to all the bundles you create using NeatBundles app. Down below are some of the settings regarding navigation, but I let you play with them on your own.
We need to click on Edit colors to get started editing the colors of our bundle pages.

After you've clicked on the previous button, a page like this will open up allowing you to edit most of the colors on your bundle pages. The bundle that was being displayed is an example bundle which is there to give you a real-time preview of how your pages will look.
After you are happy with all the colors, you can just click Save.
Creating multiple mix and match bundles

When you navigate back to the first page in NeatBundles app, you will see your bundle along with some additional information. You can edit your current bundle or create more of them, it's your choice.
For each new bundle that you create, NeatBundles app will maintain a special bundle page that you will need to send your customers if they want to create their bundles.
You can find the page link of the individual bundle by clicking the edit button. You will be redirected to a new page where you will be able to find or edit all the information regarding that bundle.
Wrapping up
As you can see, the whole process of installing the app and configuring your first mix and match bundle was very easy. So, don't keep waiting anymore and start using mix and match bundles on your store.
In this tutorial, I've shown you how to create mix and match bundles using NeatBundles Shopify app. I need to mention that there are other Shopify apps that have similar features such as Easy Bundles or ZenBox: Bundle Builder, but as far as I know, NeatBundles is the cheapest of them all while still containing most of the essential features that everyone will need. On top of being the most affordable app, NeatBundles also offers a 30-day free trial. There is also a support team that you can reach out to.

